
Customising the workspace |

|

|

|

|
||
|
Customising the workspace |
|
|
|

|

|
Customising the workspace
|
Customising the workspace |
|
|
|
|
||
|
Customising the workspace |
|
|
|
|
|
|
|
||
Both Generator and Configurator, by default, display a window with two panes - a navigation pane on the left and a content pane on the right. The navigation pane shows the persistent tree and the content pane shows whatever object or collection you select to display from that tree or elsewhere. The arrangement of panes within the window is called a workspace, and Persistate has a number of operations which allow you to modify the default workspace, and save and restore named workspaces.
Splitting panes
The first thing you can do is to split any splittable pane into two panes, putting its current contents into one and leaving the other one empty. To do this for the active pane, on the View menu select Add Pane, then either To Left, To Right, Above or Below, depending on where you want the empty pane to be. The screenshot below shows the Configurator after a new pane has been added to the right, and then a new pane added to the empty one below.
Two empty panes have been added
When you display an object or collection, from whatever source, Persistate makes a decision about which pane it should be displayed in, unless the application specifies a particular one. In Generator and Configurator, no particular panes are specified, except that the Domain Tree is displayed in the left navigation pane. The decision follows (roughly) the following process.
| ▪ | If the item is already showing in a pane, then that pane is made active and nothing further is done. |
| ▪ | If any pane has been specified in the definition file to show the type of item being shown, then this pane is selected. (see Workspace Definition ) |
| ▪ | Otherwise, if there are any empty panes, one of those is selected at random. |
| ▪ | Otherwise, if there is a pane showing the same class of object, then that pane is selected and the new object replaces the original. |
| ▪ | Otherwise a pane is selected at random, but any which are specified to show content other than the type of object being shown are excluded. |
|
There is currently no way for the user to determine absolutely which pane an object should go in. This will be rectified in a future version of Persistate. See immediately below for a workaround. |
If you want to specify specifically which pane an object should be displayed in, and there are no empty panes, you can empty the pane you want before displaying the object. To do this, click in the title bar of the pane and select Clear Pane. Here is the above workspace after the Databases and Principals nodes have been clicked.
The panes have now been filled
You can close a pane that you have created in this way by clicking in the title bar of the pane and selecting Close Pane. If the pane is empty and has no title bar, just right click anywhere in the pane. You cannot close any panes which have been specified in the definition file but not marked closable. In Generator and Configurator, this means that you cannot close any of the two original panes showing when the applications start up.
Using tabs
In addition to adding new panes side by side, you can add tabbed panes. To do this select an empty pane or one which already has tabs in it and then on the View menu select Add tab. You can add any number of tabs to a tabbed pane, and each tab can show objects and collections in exactly the same way as non tabbed panes. The following screenshot shows a tabbed pane with three tabs.
Three tabs in a tabbed pane
You can drag tabs from one position in a tabbed pane to another. You can also drag tabs from one tabbed pane to another tabbed pane, and the tab's content will be moved to the destination pane. You can clear and close a tab in the same way as you clear and close a pane, by right clicking the tab and selecting the appropriate option. You can also close a tab by clicking the close glyph at the right of the tab.
Saving and restoring workspaces
If you have created a lot of panes, showing many objects and collections, then you might want to save the arrangement you have made to make it easier to recreate the same arrangement in the future. Persistate allows you to do this with the Save Workspace and Restore Workspace operations. To save a workspace, make sure that you have the window and all the panes exactly as you want them, then simply select the Save workspace operation from the View menu. A small dialogue box appears.
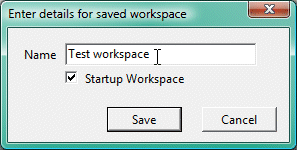
Saving a workspace
Type a name for your workspace - Persistate will complain if there is already a workspace with that name. Set the Startup checkbox if you want this workspace to be automatically restored when you start up the application. Saved workspaces are stored with your Principal object, so you can see the workspaces you have saved on your Principal Form. This shows saved workspaces from all packages. The saved workspace stores the following information.
| ▪ | The size of the window. |
| ▪ | The number and type of panes, and the position of the dividers between them |
| ▪ | The contents of each pane. |
| ▪ | The current layout style for the window (see below). |
To restore a workspace, select the Restore workspace operation from the View menu. Persistate will display a list of all the workspaces you have saved for the running application, or a warning if there aren't any. Select the one you want and click Ok. The window will be restored to its state at the moment you performed the save, and will show all the objects that were showing at that time.
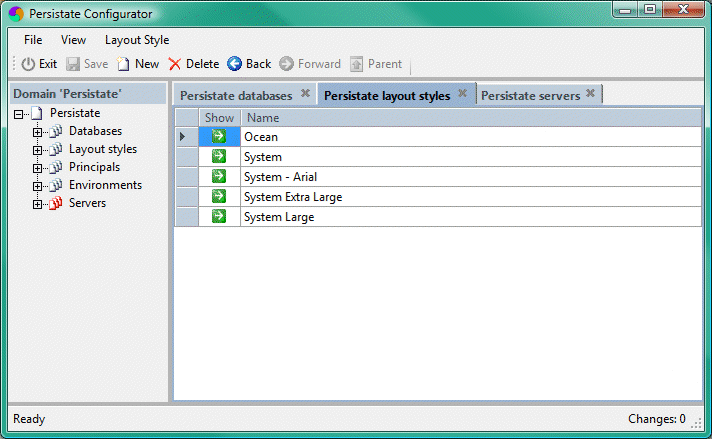
Using layout styles
In Persistate, layout styles encapsulate the fonts, colours, and control styles used to render the objects being displayed, as well as the window furniture such as menus and pane dividers. The default layout style for Generator and Configurator is called System. This uses, as far as possible, the colours you have defined in the system appearance dialogue box. Persistate also provides a number of other styles, including styles with large fonts. The best way of understanding layout styles is simply to experiment, and apply some.
To apply a layout style, select the Apply style operation on the View menu. Persistate displays a list of layout styles to choose from. Select the one you want and click Ok. The style is immediately applied to the entire window. You can see how the layout styles are defined by having a look at the layout style objects. Expand the Layout styles node in the tree in the left navigation pane and click on one of the layout style nodes. The following two screenshots show the System layout style.
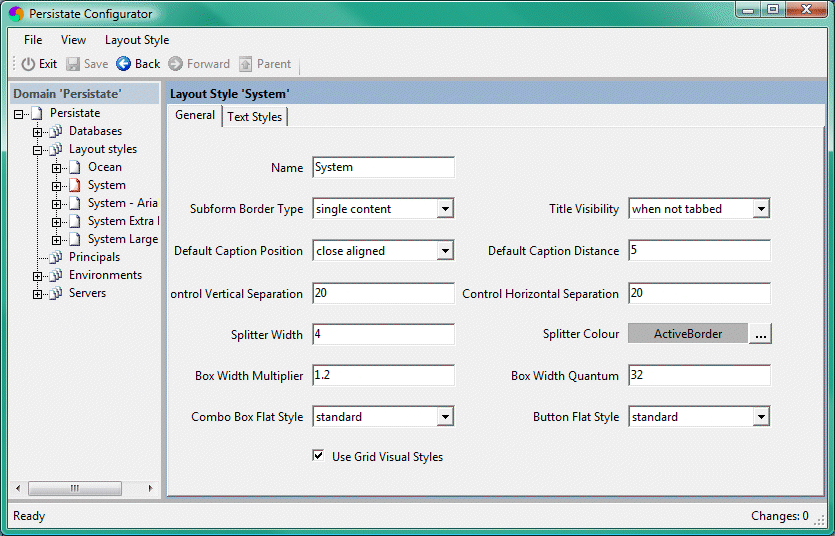
General tab of layout style form
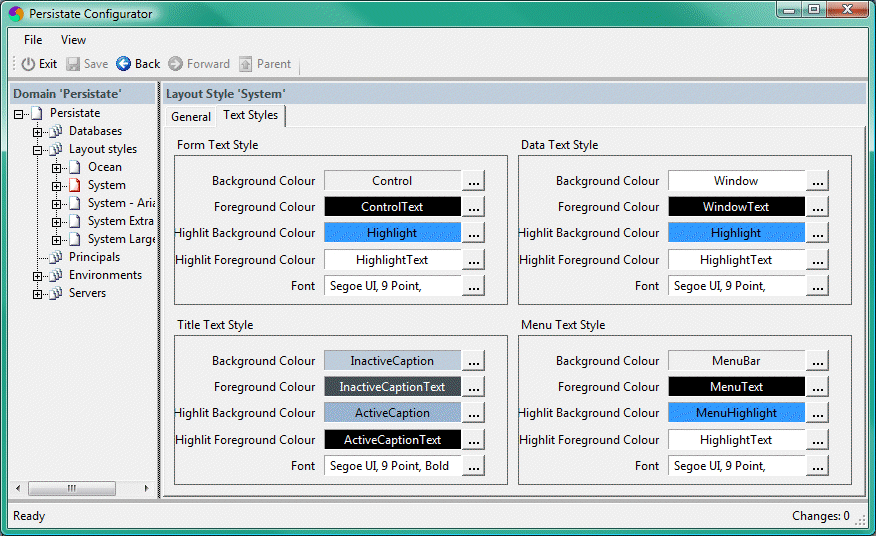
Text style tab of layout style form
For an explanation of the fields in layout styles, see the properties in the API documentation for the LayoutStyle class. You can create new layout styles easily.. There are two ways to do this. Create a new empty layout style by displaying the Layout Style Grid, and executing the New operation. You must then fill in all fields. Alternatively, you can make a copy of an existing layout style by selecting the one you want and then executing the Copy Style operation, either from the right click menu or the Layout Style menu on the main menu bar. You can then make just the changes you want for the new style.
